If you’re a car owner or mechanic, you know that properly functioning brakes are an essential safety feature on any vehicle. Over time, air can become trapped in the brake lines, causing the brakes to feel spongy or even fail altogether.
This is when it’s necessary to bleed the brakes, which involves releasing the air from the lines and replacing it with fresh brake fluid.
However, the question of whether the car should be on or off when bleeding the brakes is common, and the answer can vary depending on the specific bleeding method used.
In this post, we’ll explore the different approaches to bleeding brakes and the pros and cons of each method, so you can make an informed decision about the best way to bleed the brakes on your car.
So, stay with us to learn more about this important car maintenance task. It is generally recommended to bleed brakes with the car on a lift or jack stand to make it easier to access the bleeder valves. This means the car should be off and not running.
Now, if you don’t have access to a lift or jack stands, you can bleed the brakes with the car on the ground. To do this, ensure the car is in the park and the emergency brake is engaged.

If you have someone to assist you, they can sit in the driver’s seat and apply and release the brake pedal as you bleed the brakes. If you are doing it by yourself, you can use a piece of wood or a brake pedal depressor tool to hold the brake pedal down while you bleed the brakes.
It’s important to use caution and ensure the car is secure and stable before getting under the vehicle to bleed the brakes.
Summary: Bleed brakes (at the calipers) with the engine off.
Contents
What About the ABS System?

There would only be one pump running, which would be for the ABS system. If you were trying to bleed that system (ABS), you would need to run the pump. The pump wouldn’t be needed if you were just bleeding the base brakes.
In the case of replacing a caliper and bleeding the brakes, you do not have to run the pump. It would be necessary to run the pump and take some additional steps in the bleeding procedure if you were replacing the ABS modulator.
Honda uses ABS motors to pressurize accumulators. The factory bleeding procedures for ABS systems and the replacement of brake fluid require the motor to be run at specific points during the bleeding process.
A computer can be connected to the car and used to command the motor to run by starting the engine and letting it run for a minute or two.
The Right Way To Bleed Brakes
After understanding the need to bleed your brakes, let us present one method you can use. The procedure is the same whether your vehicle has ABS or not unless you need to replace your master cylinder.
Needed Supplies

The following tools will be needed:
- The box-end wrench is designed to fit the bleeder screws on your car. It is usually best to use an offset head design.
- When bleeding brakes, you’ll need about 1 pint of brake fluid; when replacing completely, about 3 pints.
- Plastic tubing measuring 12 inches long, sized to fit snugly over your car’s bleeder screws.
- A disposable bottle for storing waste fluids.
- An empty brake cleaner can.
- There should be one assistant (to pump the brake pedal).
Preparation And Support Of Vehicles
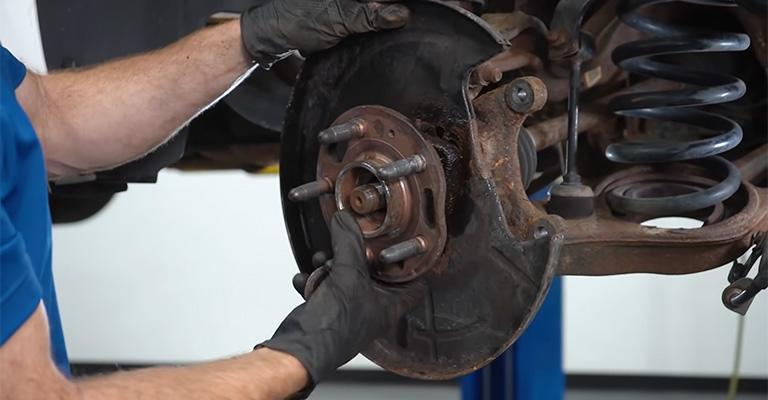
Place the entire vehicle on jack stands after loosening the lug nuts. Before moving forward with this procedure, ensure the car is properly supported. All road wheels should be removed.
A lug nut should be installed backward at each corner and tightened against the surface of the rotor. In this step, the pedal feel will be limited by limiting caliper flex.
Check the brake fluid level under the hood. Ensure that the reservoir level reaches the MAX marking by adding fluid as necessary. Make sure the reservoir never runs dry during bleeding.
Bleeding Process

- To reach the driver, begin at the corner farthest from him/her and proceed in that direction. The sequence (right rear, left rear, right front, left front) is not critical to the bleed performance.
- This sequence, however, is easy to remember since it begins with the furthest and ends with the closest. Furthermore, when the system is bled, the old and new fluids will not cross-contaminate one another.
- Make sure you don’t lose the rubber cap on the bleeder screw! The drum brake wheel cylinder or caliper body has a bleeder screw at the back.
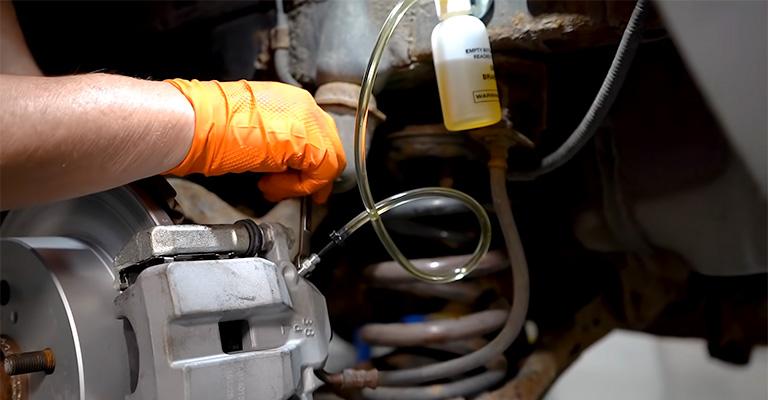
- The box-end wrench should be placed over the bleeder screw. Offset wrenches are ideal because they allow the most movement.
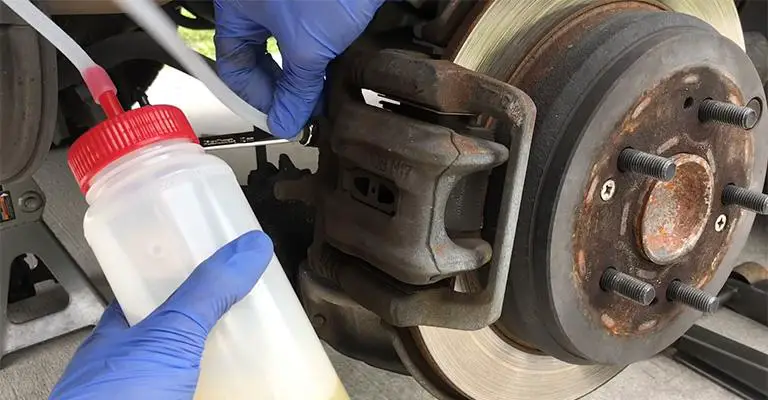
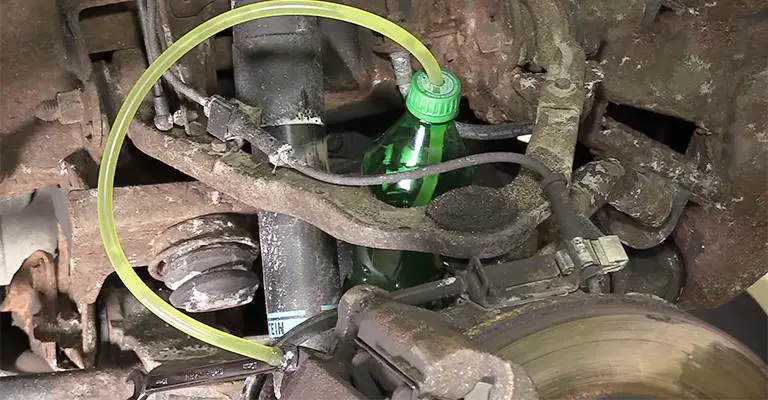
- The clear plastic hose should be placed over the nipple of the bleeder screw. The other end of the hose should be placed in the disposable bottle.
- It is recommended to place the waste fluid bottle on top of the drum assembly or the caliper body. With one hand, hold the bottle, and with the other, grasp the wrench.
- Tell the assistant to “apply.” It is important that the assistant pumps the brake pedal three times, holds it down firmly, and responds with “applied.” They should not release the brakes until you instruct them.
- Allow fluid to flow into the waste line by loosening the bleeder screw with a brief 1/4-turn turn. It is only necessary to open the screw for one second or less. When the bleeder screw is opened, the brake pedal will “fall” to the floor. Make sure the assistant does not release the brakes until instructed to do so.
- By gently tightening the bleeder screw, the bleeder will be closed. It is not necessary to pull on the wrench with excessive force. Most of the time, all it takes is a quick tug.
- Tell the assistant to “release” the brakes. The brake pedal should not be released while the bleeder screw is open to prevent air from reentering the system. A response of “released” should be given by the assistant.
- Ensure that there are no air bubbles in the waste line fluid. The bleeding process should be continued until all air bubbles have been removed. Following each wheel bleeding, make sure the brake fluid reservoir is full.
- Keep the level at the MAX marking by adding fluid as necessary. A ‘standard’ bleed will typically take five to ten repetitions per wheel.
- Repeat the bleeding process at each corner from the right rear to the left rear, to the right front, and to the left front, moving systematically toward the driver. Keep an eye on the brake fluid reservoir! Make sure it’s filled up!
- As soon as all four corners of the vehicle have been bled, spray brake cleaner on the bleeder screw and wipe dry with a clean rag. The cleaner can make rubber and plastic parts brittle after repeated exposure, so avoid spraying directly on them. (Keeping the area clean and dry makes it easier to spot leaks later!)
- You should be able to feel the brake pedal firmly. The bleeding procedure will not necessarily solve a “mushy” or “soft” pedal since pad taper, and compliance elsewhere in the system can also contribute to soft pedals.
- The bleeder screws and other fittings should be inspected for leaks. Make any necessary corrections. As with used motor oil, dispose of used waste fluid properly. The master cylinder reservoir should never be refilled with used brake fluid!
Wrap-Up And Road Test Of The Vehicle

All four road wheels should be reinstalled. Remove the jack stands after raising the entire vehicle. Make sure the lug nuts are torqued to the manufacturer’s recommended limits. Hubcaps and wheel covers should be reinstalled.
As soon as you have applied and released the brake pedal several times, the system should have cleared all clearances. You should do this on level ground with the car not running.
The brake pedal will likely feel slightly firmer during this time, but the brake pedal should still be at least as firm as it was before bleeding. Make sure the brakes are working properly by road testing the vehicle.
To ensure the proper function of all vehicle systems, drive your car cautiously the first time after modification!
What Is The Recommended Frequency Of Brake Bleeds?
For your particular application, here are a few general guidelines for determining bleeding intervals:
- A typical OEM braking system is designed to not require bleeding for the vehicle’s life unless it is open for repair or replacement under normal operating conditions. Driving around town or on the highway to work doesn’t require bleeding!
- Depending on your vehicle, your owner’s manual or your local service center might recommend replacing your shock absorbers semi-regularly for other reasons.
- Low-speed competitors may want to upgrade their brake fluid and bleed at the start of the season if they do autocross or drive sportingly.
- You may want to consider bleeding your car before each event if you experience significant high-speed braking or participate in driver schools and/or lap sessions.
- More intense drivers can skip right past this step and go straight to #4 at these events. A dedicated racecar should be bled every time it runs on the track.
Final Words
The brakes should be bled at the calipers with the car off to remove air from the system. If you pump the brakes a few times while the car is off, then press the brake pedal with medium effort when the car starts, you will notice the difference.
The same effort will sink the pedal further and put more force on the hydraulics once the engine starts. The brake pedal must be pushed while the line is cracked open and then closed before the pedal touches the floor when bleeding brakes.
It is unsafe to run the engine while it is running. If the front axle is up in the air or the rear axle is up on stands, the front axles can spin, hitting your hands.
It reduces the time available to close the bleeder screw before the pedal hits the ground because it dramatically changes the pressure at which the fluid shoots out of the calipers.
