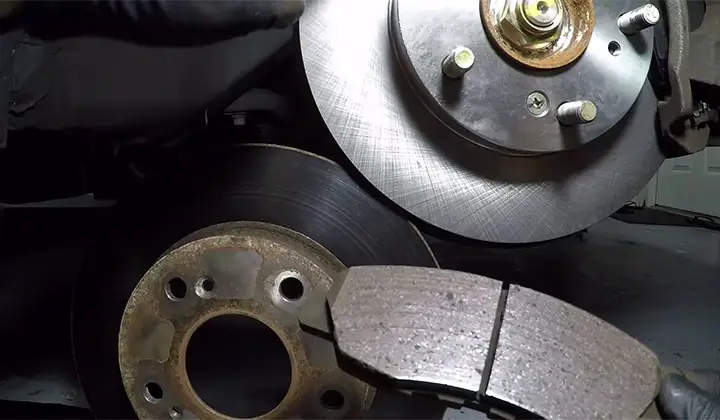
Sleeping on a brake pad can be easy or hard depending on where you are. You’ll need an open road without traffic which can be hard to find in a city. Alternatively, you can use an industrial space to do it. But if you are in a quieter or rural area then finding a location will be pretty easy.
Contents
How to Bed-in Brake Pad?
Sleep on a brake pad otherwise known as bedding in is a common practice in race tracks. They are also referred to as burnishing. What it does is, transfers some materials from the brake pads onto the rotor.

Benefits Of Bed-in Pads
As a result, it increases the brake power in return. Some other benefits are reduced vibration and noise when braking, long-lasting brake performance. Often consumers complain about squeaking noise from the brakes. It can be solved by burnishing the brake pads.
If you want to use it on a race track it is especially important for you. There is nothing more important than a good burnished brake pad when comes to racing. So, to get the full performance from the brake pads, bed in is necessary.
Why Controlled Bed In is Necessary?
Bed in can also happen naturally as you use your brake. When braking the pads get to a high temperature and over time it eventually beds in with the rotor. So, you may think, why do I have to do it manually if it already happens naturally?
There are a few reasons for doing it manually. But mainly, when burnishing manually, you have a lot more control over how you burnish it. So you can burnish the pad and rotor evenly. When the burnishing happens naturally, you cannot control it. So it can have an uneven burnish around the rotor.
Problem Of Uneven Burnish/ Bed in
An uneven burnish increases the vibration of the rotor when braking. Because of the uneven burnish, when the more burnished area comes in contact with the pad it will grip stronger. So the grip force keeps changing. It can also feel clumsy when braking for the same reason.
Bedding In Brake Pads
To bed in the pads onto the rotor, you have to get the rotor and pads to a temperature that is high enough to transfer the material from the pads to the rotor. As we’ve discussed before, you’ll need a road with little to no traffic. Because we’ll be speeding up and slowing down a lot heat up the parts.
The Process
You can do this on an empty road or a race track. The actual bed-in process is very easy. After you are on the track, speed up your car at 60 miles/hr. Then press on the brake and get the speed down to 5-10 miles/hr.
You just need to hit these speed limit roughly. The last thing you want to do is crash the car because you were too busy looking at the speed meter. Repeat this process 5-8 times.
After you are done with your 5 to 8 times braking procedure, do not suddenly stop the car. Stopping the car right after burnishing can lead to uneven burnish. Rather, drive the car around at a normal speed for about 5 mins. This will cool down and rotor and pads making sure you get even burnish all around the rotor.
Normal to Have
Since we are speeding up then using the brake to speed down continuously, the brake pads will heat up a lot. Thereby, it is normal to get some smoke from the brake pads. If you see or feel some smoke from the car’s brake pad, then know that it is normal and the bed-in process is working.
Things to Look Out For
While smoke is pretty normal to get from the process, you don’t want to get too much spark. If you see sparks in the brake pads then it is time to cool down the pads.
Different brake pads have a different temperature that is needed to burnish them. That is because not all pads use the same materials. Some pads may need 5 brakes to bed in, some need 8, and some even need 10 or more.
But the speed also contributes to the number of times you need to break from high speed to make it burnished. Racing brake pads usually need higher speed and more brakes. But if you are burnishing a normal brake pad then 8 is a good number to stop at.
Considering the Result
After the bed-in procedure, you need to check if it has been bed-in properly. A new rotor has a metallic silver look to it. By bedding in the pads, you are transferring the pad materials to the crevices of the rotor.
So it will change its color from silver to metallic grey. After the initial 8 breaks and 5 minutes cool down, stop the car and inspect the rotor. If you find that it is evenly greyed then you have completed the bed in.
But if you find some areas are still silver and not properly greyed, do the procedure again but only do 5 breaks this time. The reason we are doing only 5 is that it is still hot from the previous secession. Doing more than 5 at a time may cause it to spark and burn.
While a little burn on the pad is no problem and pretty normal, too much burn may cause it to lose grip resulting in replacing the pads. So always look out for the pads so that it doesn’t burn too much on when bedding in is done.

FAQ
Ans: They are a decent pad for normal use but in racing, there are better pads than them.
How long do new brakes take to bed in?
Ans: The bed-in procedure will take no more than 3 to 5 mins. Then you need to keep driving for another 5 minutes till it cools down a bit.
Conclusion
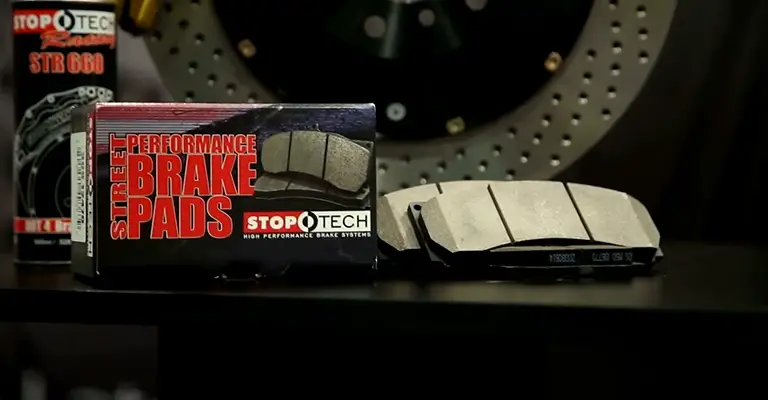
StopTech brake pads are performance pads. So it has a little more durability and can withstand a bit more temperature. So while sleeping on a StopTech pad you may need to do about ten brakes to bed in the pads. But you can always do 8 then if it is not enough do 5 more brakes too.
